
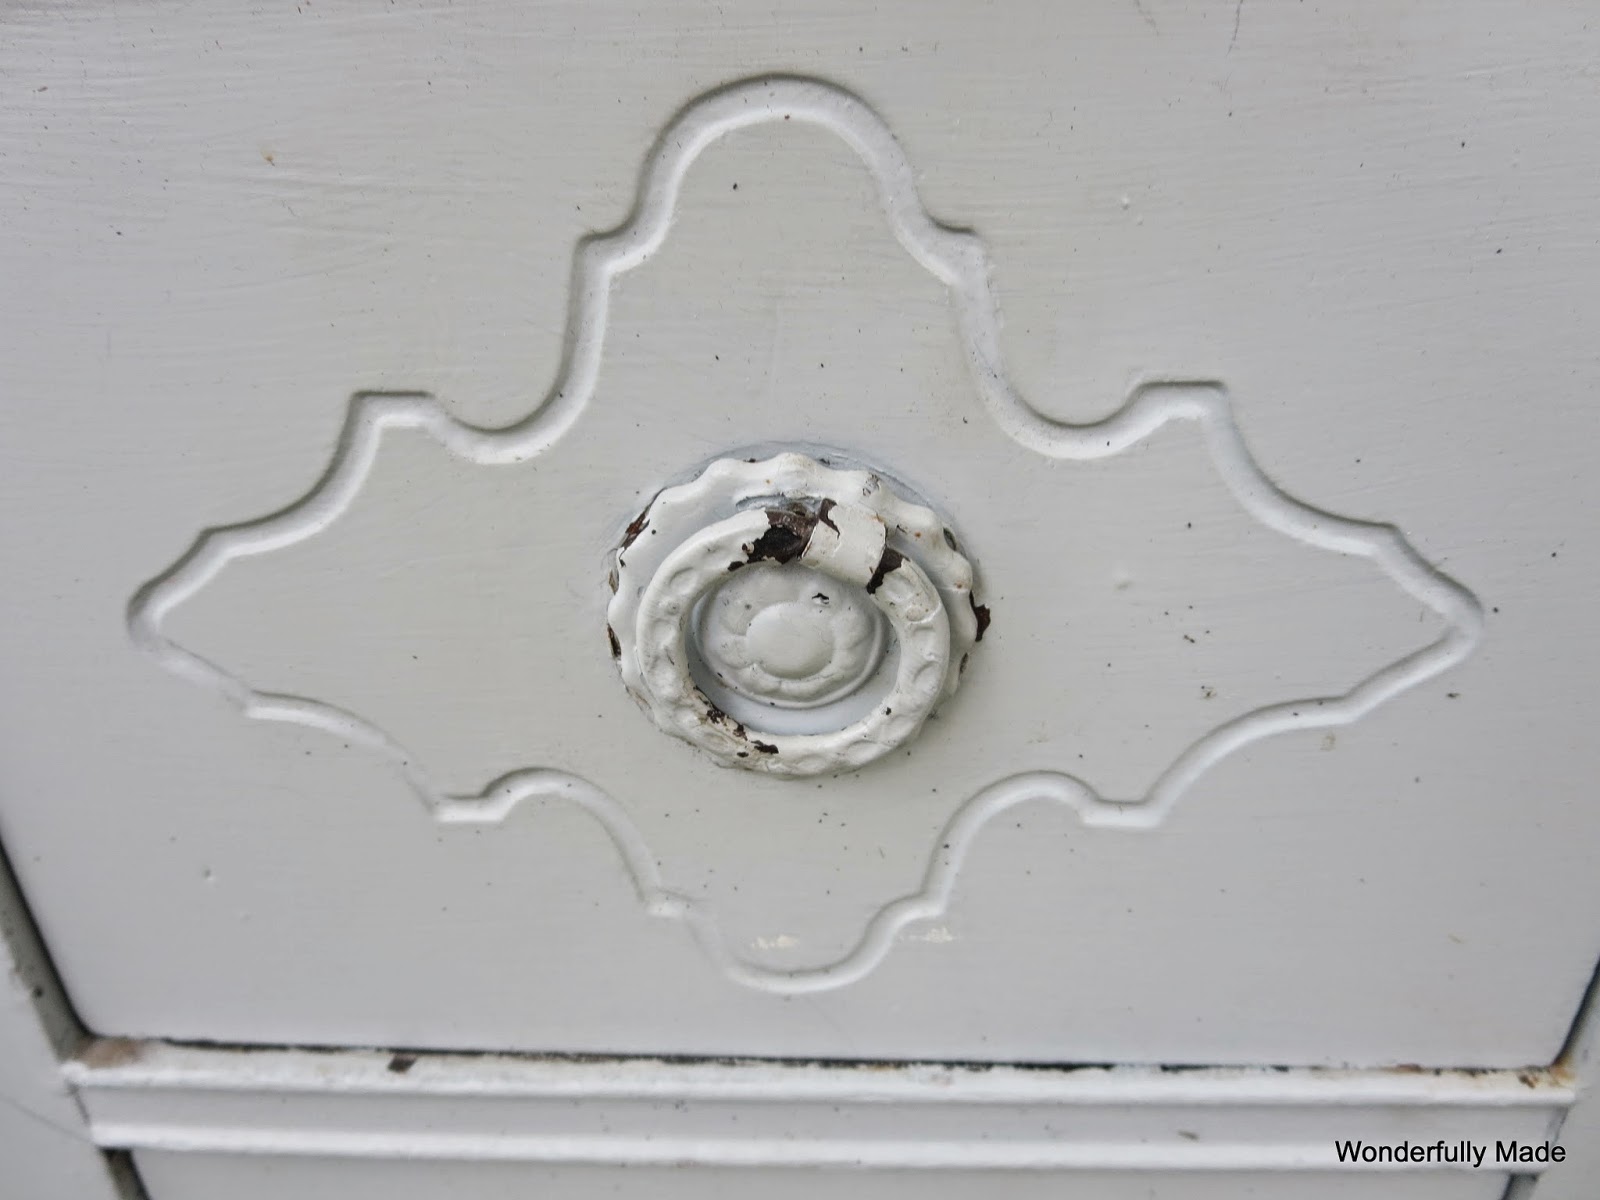
Another great piece given to me by a friend has these great drawer pulls that need the layers and layers of paint removed. I did a search and found a method that REALLY works with NO chemical strippers. I went onto YouTube (do you ever use YouTube for instructional videos? It's a great resource for people like me who are visual learners!) and found a guy who showed the whole process so I had to try it myself. You will need:
An old pot that you will NOT be using for cooking again
Baking Soda
Water
That's it!
Cover the bottom of the pot with baking soda and place your hardware pieces in. I put mine in face down just because most of the paint was on that side but it doesn't matter if paint is on both sides as this process will remove it all over.

Next, fill the pot with enough water to cover the hardware.

Don't stir or anything -- just simmer, for 30 minutes.

Mixture should not boil, only simmer. One note, check periodically to make sure the water hasn't all cooked away. Mine did but it was okay and the pan cleaned up fine afterward but I'd imagine if it burned, it would be a bit of a mess. I'd say check after 20 min. or so to make sure there is still water in the pan.

Using tongs, remove the pieces and begin rolling the paint right off! It reminded me of peeling dried, school glue off of your fingers! In just a few minutes, I pulled the paint right off. I used a safety pin to reach into some of the crevices thinking I'd have to "pick" it out but NO, it just PULLED right out of there too!

The end result!

Check out the YouTube video -- he is cleaning a really old door hinge using this method. I can't wait to try this on other projects -- life-transforming! LOL
So what "tips" or "tricks" have transformed YOUR crafting life?
Wow this is amazingly simple! Thanks for sharing! YES I use youtube because I too, am a visual learner!
ReplyDeleteLinda
mysewwhatblog.blogspot.com
Oh my goodness Lauren, I have got to try this. Looks like a very simple and quite fast process. And I love the fact that no harsh chemicals are needed. Thank you so much for sharing. A happy Tuesday to you.
ReplyDelete❤️Ana
Bonjour,
ReplyDeleteMerci de nous transmettre le message... Il sera vraiment utile en ce qui me concerne... Dommage que je ne puisse pas faire la même chose pour l'adorable petite table de salon que je viens d'acheter à la brocante... Il faut que je la décape...
Gros bisous à vous.
PS : Je ne sais pas si vous rencontrez en ce moment des soucis avec blogger ?...
Je ne parviens pas à obtenir ma liste de lecture. Une seule lecture apparait et lorsque je veux afficher en cliquant sur d'autre flux, rien ne se produit ! Je ne suis pas visiblement la seule à rencontrer ce problème. Sur l'aide que nous propose blogger, beaucoup se plaignent de ce même souci. Seulement rien n'est résolu et c'est fâcheusement désagréable car je ne peux plus consulter les blogs et laisser des commentaires depuis plusieurs jours maintenant.
Comment cela se passe pour vous ?
artladymartinealison@gmail.com
Merci pour votre réponse.
The simple solutions are the best. I love this and your results are amazing.
ReplyDeleteThose pulls are just gorgeous!
Hugs,
Patti
Awesome tip, Lauren! Thank you bunches for linking up and partying with us!
ReplyDeleteWhat an awesome tip! Pinning it for future reference for sure. Thanx for sharing at THT!
ReplyDeleteWhat a great tip! I'm definitely going to have to try this method. Thanks so much for sharing!
ReplyDeleteGreat tips and Im glad you shared this! I do re-purposing and these tips are harndy
ReplyDeleteThanks for sharing them at Fabulous Friday Party
Maria